LOG-1 Unit issues
- LOG-1 LED dose not light.
- Although you use “Magnetic Force Detection Mode”, there is no reaction even if magnet is brought close.
no updates
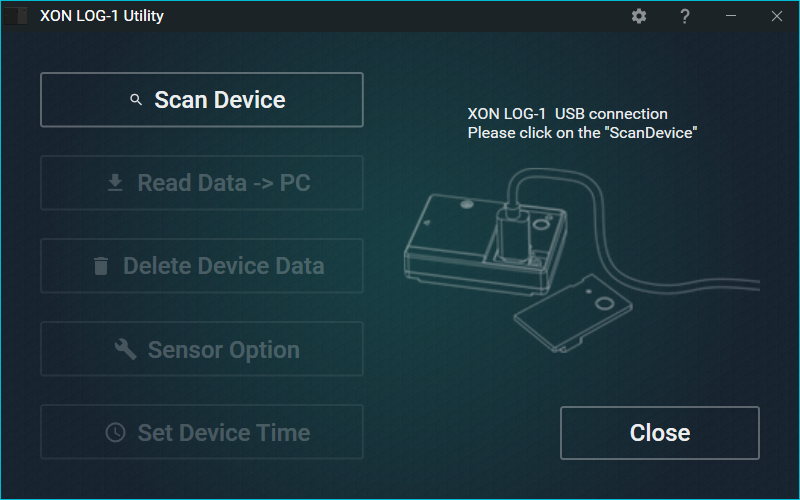
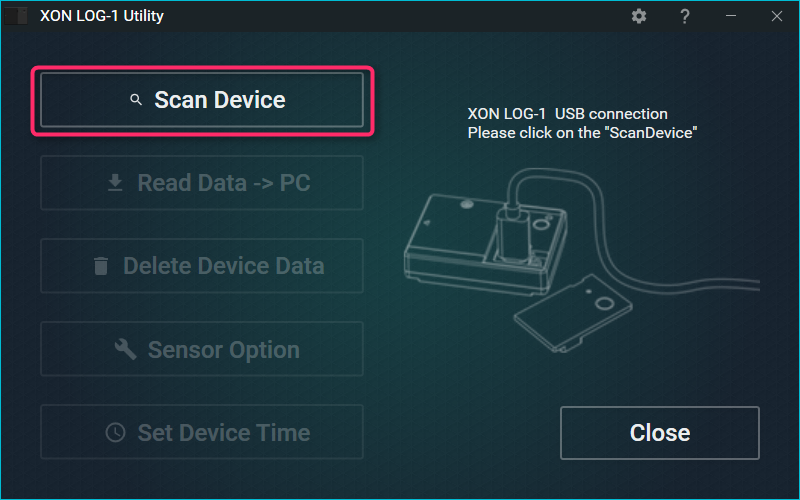
This utility controls LOG-1 data reading, deletion and performing device settings.
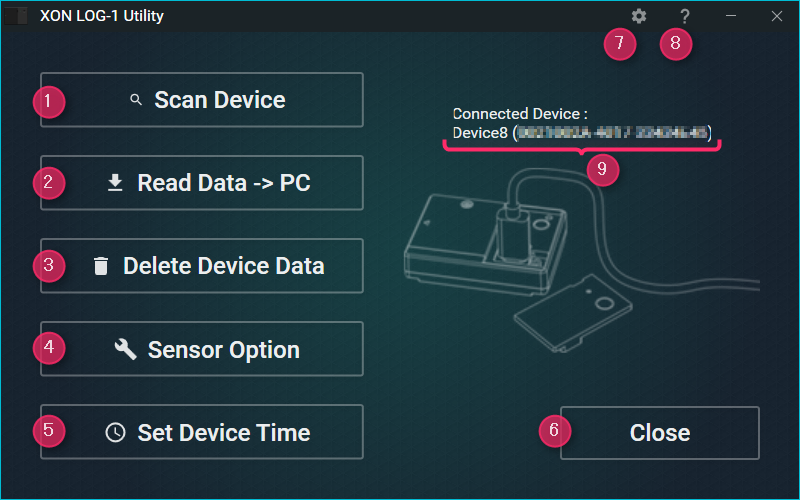
①Scan Device
Search for connected LOG-1 device.
* You can detect only one device at a time.
②Read Data -> PC
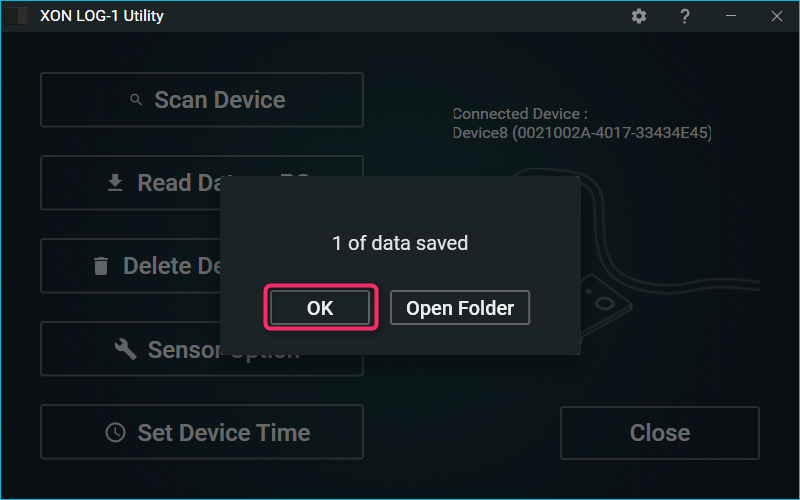
Reads the sensor data saved on the device and saves to the PC.
Saved data is formatted as a comma-delimited text file.
*If you change the file name or file contents, XON LOG-1 Overlay Movie Exporter may be unable to use the file.
③Delete Device Data
All data contained on the LOG-1 will be erased.
*Once erased, data can not be recovered.
④Sensor Option
Sensor settings (see below “Sensor Options screen”)
⑤Set Device Time
Use current time on the PC and set it on LOG-1.
⑥Close
Exit the Utility.
⑦Settings
Change the destination folder of saved data.
*Existing data is not automatically moved if you change the folder.
*XON LOG-1 Overlay Movie Exporter will need to search the specified LOG-1 data folder.
⑧Help
Displays the online manual / version information.
The online manual will open in a browser window.
*To view the PC must be connected to the Internet.
⑨Device display
View the connected device name.
[Short Device Name]([Serial Number])
Example: Device1 (XXXXXXXX-XXXX-XXXXXXXX)
| Short Device Name | “Device + number” the numeric part is calculated as each device connected to the PC. |
| Serial Number | The device serial number set at the factory (20 digits). |
①Sampling Rate
| Total recordable time | ||
|---|---|---|
| 12.5 samples / sec (80ms interval) |
Recommend for video data overlay. | About 19 hours |
| 1 sample / sec. (1000ms interval) |
Recommend for text file viewing. | About 240 hours |
② Use Magnet Sensor
If you disable the magnet sensor, you will not be able to retrieve some data (approach, rotation speed, counter).
Power consumption will decrease a little if you do not use the magnet sensor.
(For more information about the battery consumption time, please refer to LOG-1 specifications.)
③OK
Save the configuration changes and close the window.
④Cancel
Close the window without saving the configuration changes.
You can use multiple LOG-1s simultaneously and display on one overlay.
This is an example of using two LOG-1 devices together.
Device 1 is attached to the rear wheel of the bicycle, it measures the rotation speed with a magnet.
Device 2 is attached the handle of the bicycle and it measures acceleration and inclination.
(See also, [How to Install])
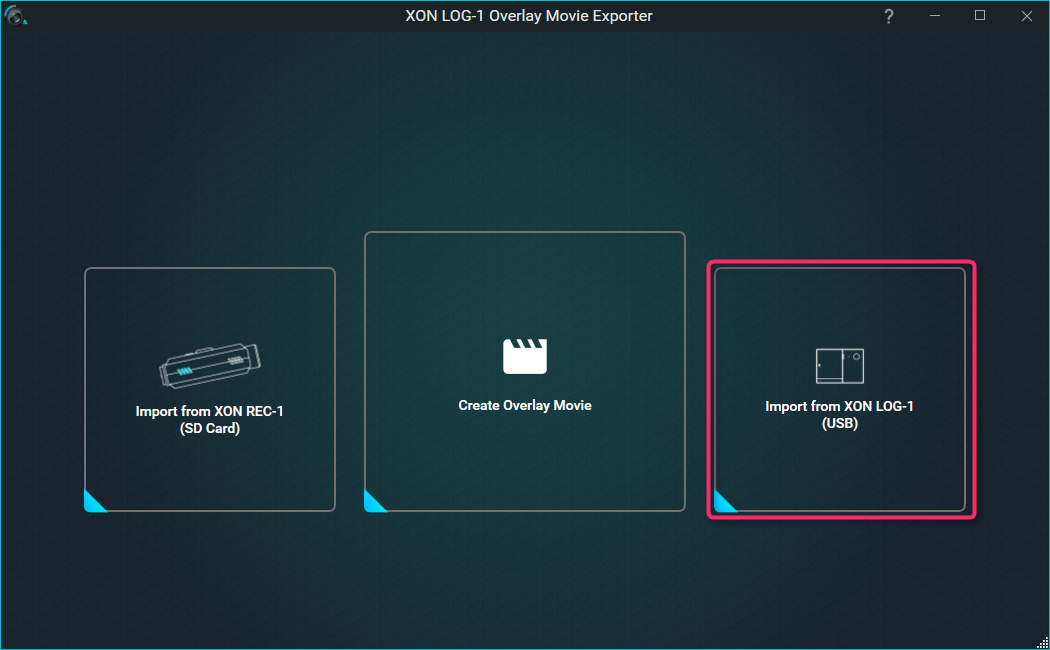
Please import data from each device one at a time with the Utility application.
When “Scan Device” is complete, the device name will be displayed on the right side. The name is used for switching devices during movie editing.
Switch between the devices using the drop-down menu and synchronize and calibrate each device.
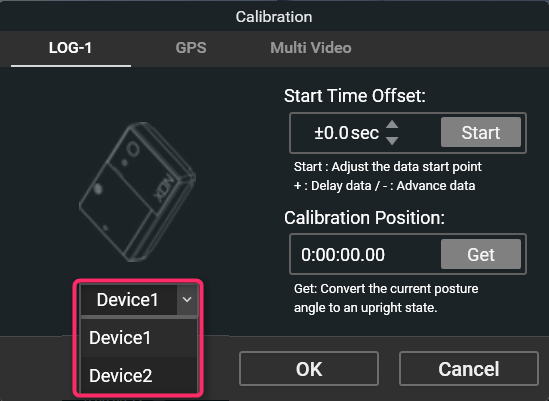
Assigning which device data should display on the overlay can be set in the Overlay Configuration settings screen.
Set up the overlay from the Overlay Settings button.
Configure each data point.
(A) Date of Movie, Playback time, Duration
(B) Altitude, Route path
* Uses GPS data. Only appears if recorded by REC-1 camera.
(C) Speed
* Uses GPS data. Only appears if recorded by REC-1 camera.
(D) Text description (max. 3 lines)
*Text content can be edited in (6).
(E) Sensor data values of LOG-1
*For each part, set from the configuration settings in (5).
| LOG-1 Values | Details |
|---|---|
| G-Level | Total acceleration |
| Acceleration | 3-axis acceleration x:left and right, y:front and back, z:top and bottom |
| Temp | Atmospheric temperature |
| Pressure | Atmospheric pressure |
| Rotation | Rotation speed (using magnet sensor), when installed on bicycle or other vehicle tires, displays the speed of the rotation. |
| Approach | Magnet detection state (using magnet sensor) |
| Counter | Magnet detection times (using magnet sensor) |
| Gyro | Angle (horizontal/vertical) by gyroscope |
(1) Play / Pause / Skip video
* You can seek to any playback position by dragging the playback bar.
(2) Volume adjustment
*Also applies to export.
(3) Timeline
-/+: Scale the timeline.
<<>>: Move timeline display range.
You can seek to any playback position by clicking the timeline bar.
(4) Sync correction, calibration.
(5) Overlay data configuration setting.
* Refer to: [Editing Movies: Overlay settings].
(6) Editing the text information of (D).
(7) Start point of exported video range.
(8) End point of exported video range.
(9) Bitrate of exported movie.
(10) Save Project.
(11) Output video file with overlay.
You can synchronize the time of the device and the camera more accurately by doing the following –
* The “Start” function needs to be enabled in the movie.
* You can fine tune in 1/10 second increments by clicking or entering numerical values.
* If the time is not set on LOG-1, or the time in the movie deviates by more than a few minutes, data corresponding to the movie will not be found.
Perform calibration at a position serving as a reference point of the gyro to synchronize the LOG-1 inclination and gyro data on the image.
*You can not calibrate with LOG-1 in an OFF state.
Input the information text using the text button (6). You can input up to 3 lines of text.
*If you delete all characters, the information part will be hidden.
Set the starting and ending points of the required video range.
*The GPS route will also be in the video range.
After editing the movie, output the movie.
*Export time may vary depending on the movie length, bit rate, or PC performance.
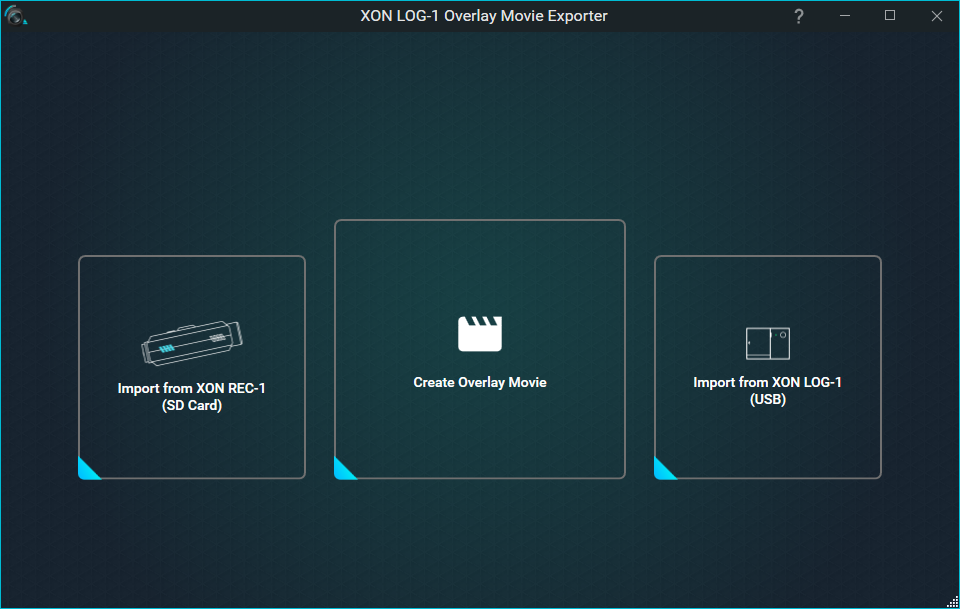

*If you select multiple consecutive videos (the movie files may be divided into one or more recording depending on the camera model and settings), you can use as a single movie.
*For REC-1 videos, the GPS file is also automatically loaded.
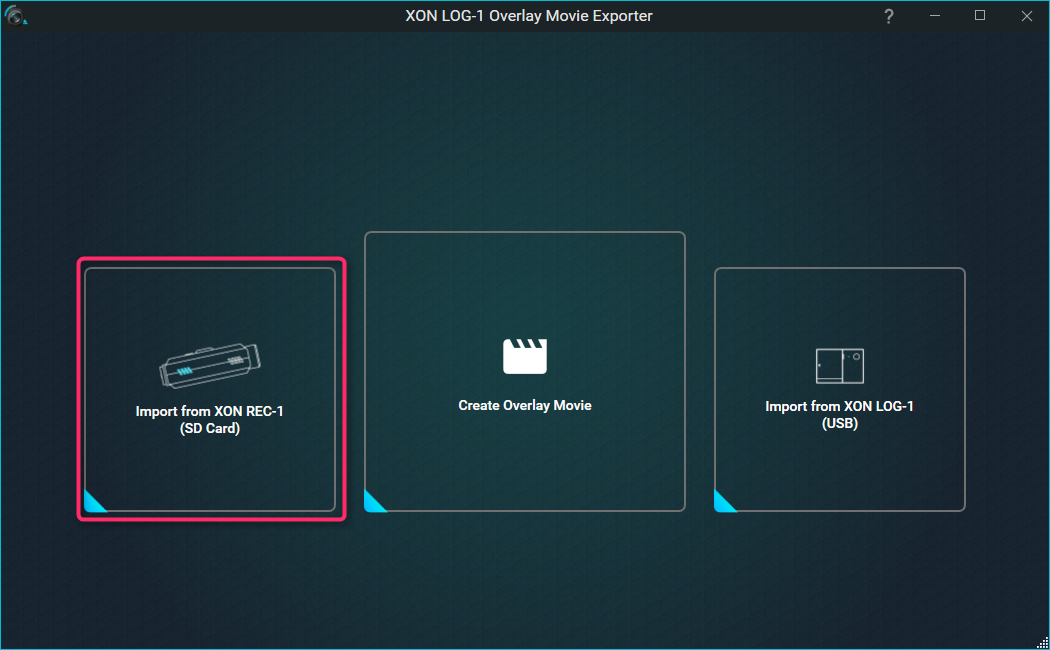
To create an overlay movie, you need two things:
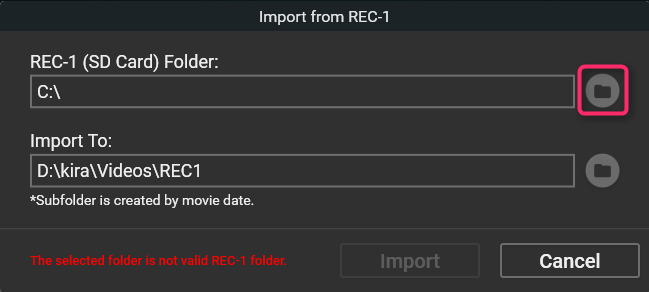
* Importing from XON LOG-1 Overlay Movie Exporter can only be used when shooting movies with REC-1. Please copy other cameras directly to the hard disk, or using the camera’s own import tool.
