Application screen guide
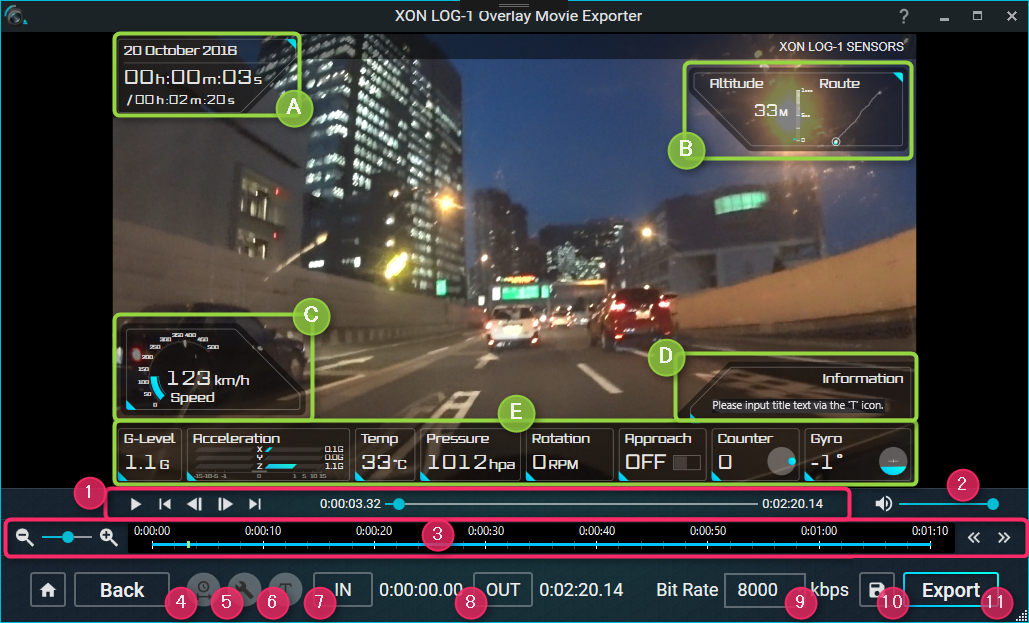
Overlay
(A) Date of Movie, Playback time, Duration
(B) Altitude, Route path
* Uses GPS data. Only appears if recorded by REC-1 camera.
(C) Speed
* Uses GPS data. Only appears if recorded by REC-1 camera.
(D) Text description (max. 3 lines)
*Text content can be edited in (6).
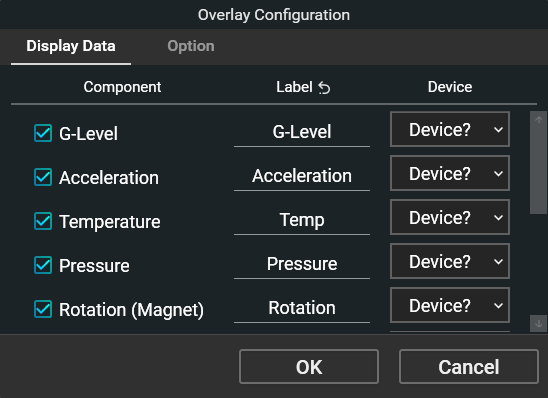
(E) Sensor data values of LOG-1
*For each part, set from the configuration settings in (5).
| LOG-1 Values |
Details |
| G-Level |
Total acceleration |
| Acceleration |
3-axis acceleration x:left and right, y:front and back, z:top and bottom |
| Temp |
Atmospheric temperature |
| Pressure |
Atmospheric pressure |
| Rotation |
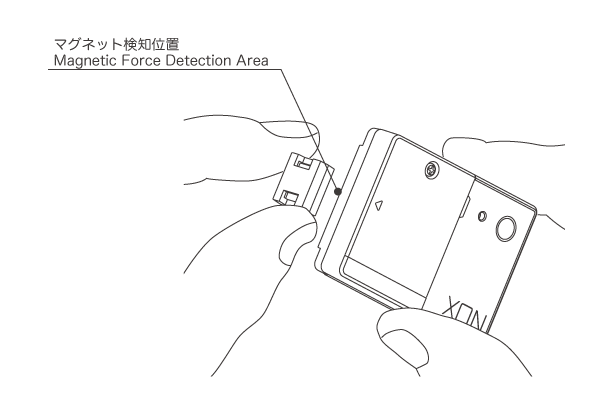
Rotation speed (using magnet sensor), when installed on bicycle or other vehicle tires, displays the speed of the rotation. |
| Approach |
Magnet detection state (using magnet sensor) |
| Counter |
Magnet detection times (using magnet sensor) |
| Gyro |
Angle (horizontal/vertical) by gyroscope |
Control panels
(1) Play / Pause / Skip video
* You can seek to any playback position by dragging the playback bar.
(2) Volume adjustment
*Also applies to export.
(3) Timeline
-/+: Scale the timeline.
<<>>: Move timeline display range.
You can seek to any playback position by clicking the timeline bar.
(4) Sync correction, calibration.
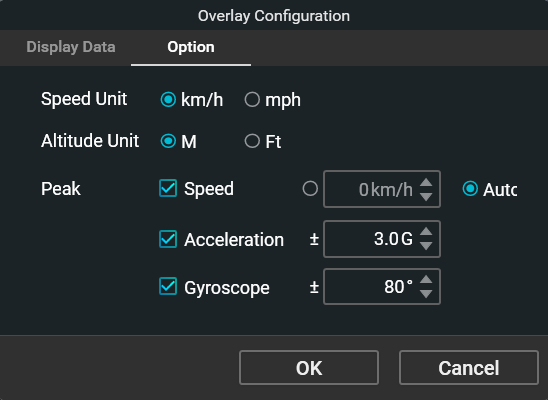
(5) Overlay data configuration setting.
* Refer to: [Editing Movies: Overlay settings].
(6) Editing the text information of (D).
(7) Start point of exported video range.
(8) End point of exported video range.
(9) Bitrate of exported movie.
(10) Save Project.
(11) Output video file with overlay.
Synchronizing movie time and LOG-1
You can synchronize the time of the device and the camera more accurately by doing the following –
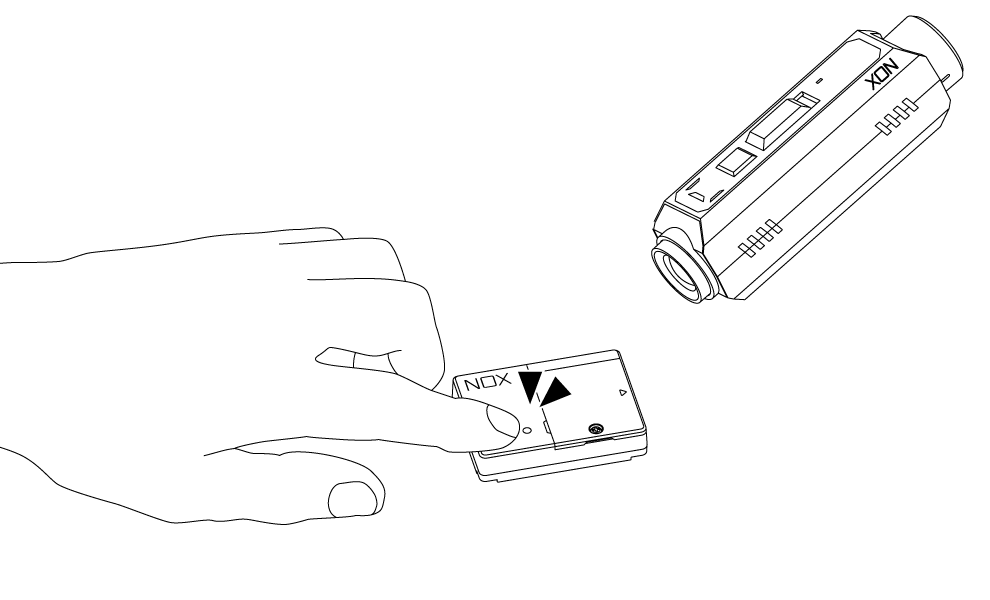
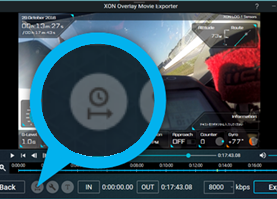
| 1. Pause the device at the point where the device starts (after LED illumination) in the movie, and click the [Clock] button. |
2. Automatic detection of data synchronization using the [Start] button to adjust the measurement starting point. |
 |
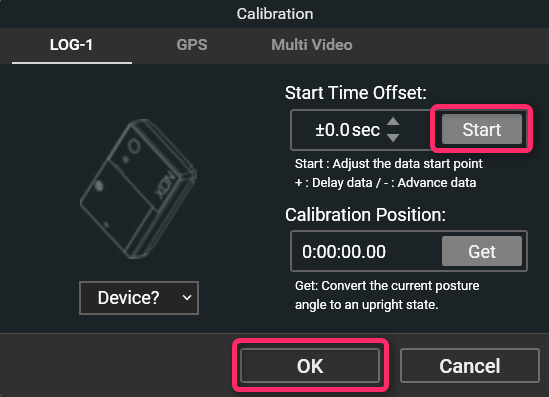 |
* The “Start” function needs to be enabled in the movie.
* You can fine tune in 1/10 second increments by clicking or entering numerical values.
* If the time is not set on LOG-1, or the time in the movie deviates by more than a few minutes, data corresponding to the movie will not be found.
Start calibration
Perform calibration at a position serving as a reference point of the gyro to synchronize the LOG-1 inclination and gyro data on the image.
| 1. Pause the movie temporarily with the attached device active and click the [Clock] button. |
2. Click the [Get] button (to obtain the value of the current playback position) and then click the [OK] button. |
 |
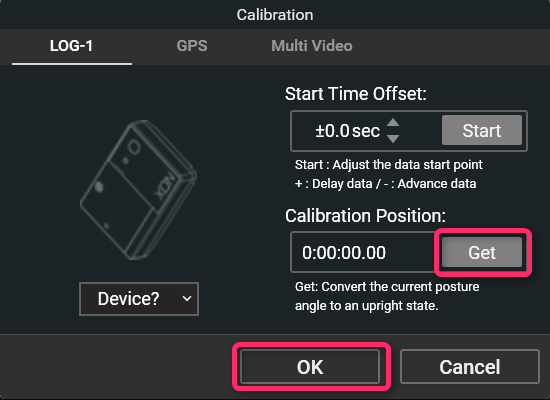 |
*You can not calibrate with LOG-1 in an OFF state.
Input information text
Input the information text using the text button (6). You can input up to 3 lines of text.
*If you delete all characters, the information part will be hidden.
Clip movie
Set the starting and ending points of the required video range.
- Drag the play bar (1), or click on the timeline (3), to pause at the starting point of the movie range.
- Click the “IN” button (7) and set it as the starting point.
- As in step 1, pause at the end point of the movie range.
- Click the “OUT” button (8) and set it to the end point.
*The GPS route will also be in the video range.
Export the movie
After editing the movie, output the movie.
- Click the “Export” button.
- Select a destination folder.
- Click “Save” button and wait for the movie to be exported.
*Export time may vary depending on the movie length, bit rate, or PC performance.
